
How to Install an eSIM on Android? Complete Guide by Brand (2026)
How to install an eSIM on Android? Step-by-step guide for Samsung Galaxy, Google Pixel, OnePlus, and other brands. Dual SIM setup, troubleshooting, and compatibility included.
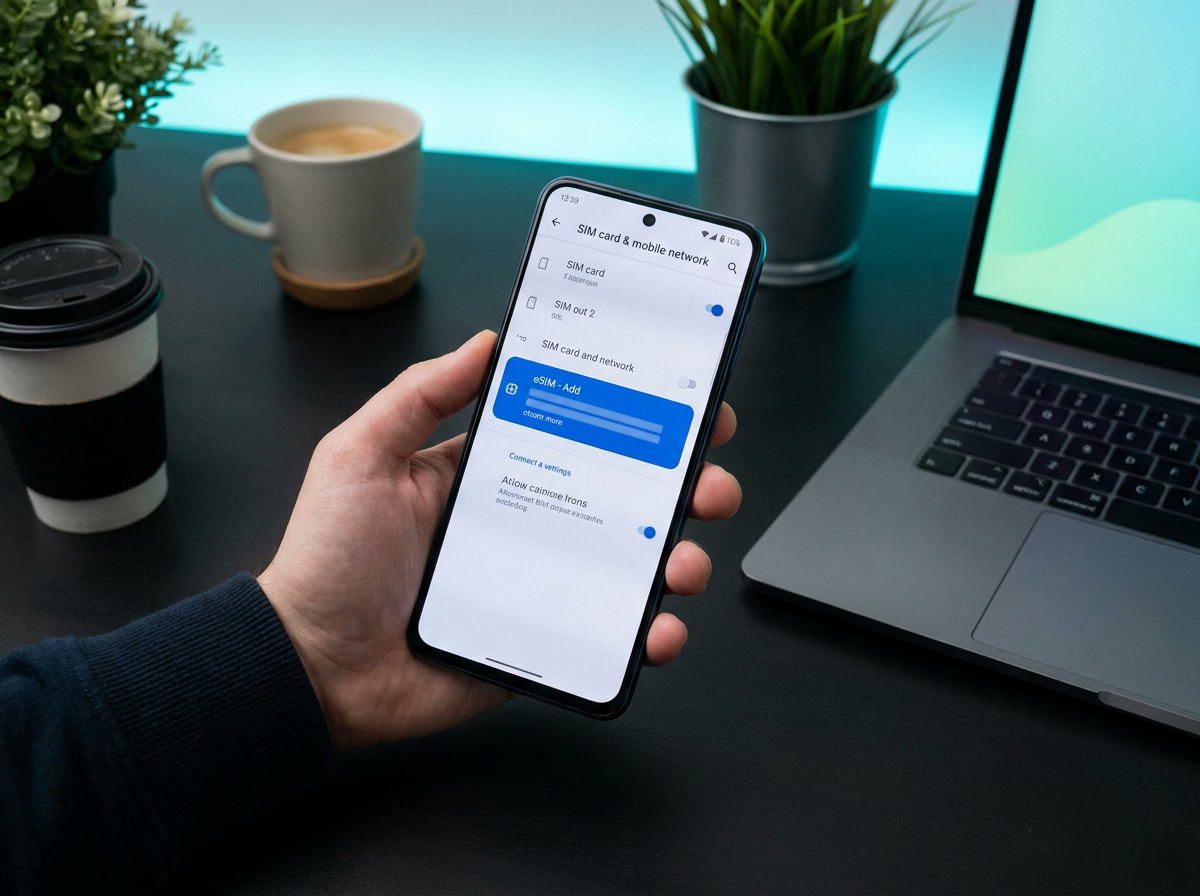
Installing an eSIM on Android is as simple as on an iPhone — but since there are dozens of different Android brands and models, menus and labels can vary slightly from one device to another. A Samsung Galaxy uses a different path than a Google Pixel. A OnePlus does not have the same menus as a Xiaomi.
This doesn't make it any more complicated, though. The principle is strictly identical: you scan a QR code in your phone's settings, the profile downloads, and you configure which line handles your data. It's done in less than ten minutes.
In this guide, we give you the exact instructions for each major Android brand, how to configure dual SIM correctly, and how to solve the most common problems.
Which Android devices are eSIM compatible?
First, check that your phone supports eSIM. Compatibility varies by brand and range.
Samsung Galaxy
Compatible:
- Galaxy S20 / S20+ / S20 Ultra and all later S models (S21, S22, S23, S24)
- Galaxy Z Fold 2 and later versions
- Galaxy Z Flip (1st generation, 2020) and later versions
- Galaxy Note 20 / Note 20 Ultra
- Galaxy A54 (2023), A55 (2024)
Not compatible:
- Galaxy A53 and lower A ranges (most)
- Galaxy S10 and earlier models
- Galaxy Note 10 (standard model, not the +)
Google Pixel
All Pixel models since Pixel 3 (2018) are eSIM compatible — including Pixel 3a, 4, 4a, 5, 5a, 6, 6a, 7, 7a, 8, 8a, 9 and all their Pro/XL variants.
OnePlus
- OnePlus 12 (2024): eSIM compatible
- OnePlus 11 (2023): compatible in some regions
- Earlier models: generally not compatible
Motorola
- Motorola Razr (2019 and later versions): compatible
- Motorola Edge+ (2020 and later): compatible in some regions
- Moto G range: generally not compatible
Xiaomi / OPPO
eSIM compatibility on Xiaomi and OPPO is limited to recent high-end models and varies by region. Chinese versions of these devices typically do not have eSIM activated. Check the specifications of your exact model.
How to check compatibility on any Android
Go to Settings > Connections > SIM card manager (or Network & internet > SIM). If you see an option to “Add an eSIM” or “Download a mobile plan,” your device is compatible.
What you need before you start
- A compatible Android phone (see list above)
- An internet connection — home Wi-Fi or mobile data from your current physical SIM
- The Arivia QR code — received by email. Display it on a second screen (computer, tablet) to scan it
- Up-to-date Android — make sure your device is running the latest available version of its system
Installation Guide: Samsung Galaxy
Step 1: Open Settings
Swipe down the notification panel and tap the Settings icon (gear), or find it in your app menu.
Step 2: Go to Connections
Tap “Connections.”
Step 3: Open SIM card manager
Tap “SIM card manager.”
Step 4: Add an eSIM
Tap “Add an eSIM” or “Add a mobile plan.”
Step 5: Scan the QR code
Select “Scan QR code.” Point the camera at your Arivia QR code. The phone recognizes the information automatically.
Step 6: Confirm and download the profile
Tap “Confirm” then “Download.” The profile installs in a few seconds.
Step 7: Name your eSIM
Give your eSIM a name (e.g., “Arivia Travel”) to distinguish it from your physical SIM.
Step 8: Set the eSIM as the data source
In the SIM card manager, tap “Mobile data” and select your Arivia eSIM.
Installation Guide: Google Pixel
Step 1: Open Settings
Swipe down from the top panel and tap the Settings icon.
Step 2: Network & internet
Tap “Network & internet.”
Step 3: SIM cards
Tap “SIM cards” or “SIM.”
Step 4: Add an eSIM
Tap the “+” icon or “Download a SIM.”
Step 5: Choose the QR code option
Tap “Scan QR code” and point the camera at your Arivia QR code.
Step 6: Confirm installation
Tap “Confirm.” The installation starts automatically.
Step 7: Set the data source
In Settings > Network & internet > SIM cards > Mobile data, select your Arivia eSIM.
Installation Guide: Other Android Brands (OnePlus, Motorola, OPPO)
The exact path varies, but the logic is the same for all brands:
- Settings > search for “SIM,” “SIM card,” or “Mobile network”
- Look for “Add an eSIM” or “Download a plan”
- Select “Scan QR code”
- Scan your Arivia QR code
- Confirm and name the profile
- Set the eSIM as the default data source
If you can't find the eSIM option in settings, use the Settings search bar and type “eSIM” or “SIM” — the exact path will appear.
Dual SIM setup after installation
Once the eSIM is installed, a few settings are necessary for everything to work correctly abroad.
1. Set the eSIM as the data source
Samsung: Settings > Connections > SIM card manager > Mobile data > Select eSIM
Pixel: Settings > Network & internet > SIM > Mobile data > Select eSIM
Other Android: Settings > Mobile network > Mobile data > Select eSIM
2. Disable data roaming on your physical SIM
Samsung: Settings > Connections > Mobile networks > [Select your physical SIM] > Data roaming > Disable
Pixel: Settings > Network & internet > SIM > [Physical SIM] > Roaming > Disable
This prevents your physical SIM from consuming mobile data while roaming abroad — avoiding unexpected charges.
3. Enable data roaming on the eSIM
On the eSIM line (in the same settings): Data roaming > Enable
Your eSIM needs to connect to a local network abroad — technically, this requires roaming to be enabled for that line.
4. Calls and Texts: keep your physical SIM
For calls and texts, keep your physical SIM as the default line. Your contacts can continue to reach you on your usual number.
Summary table: installation path by brand
| Brand | Path in settings |
|---|---|
| Samsung Galaxy | Settings > Connections > SIM card manager > Add an eSIM |
| Google Pixel | Settings > Network & internet > SIM > + |
| OnePlus | Settings > SIM card & mobile network > Add an eSIM |
| Motorola | Settings > Network & internet > SIM cards > Add an eSIM |
| OPPO | Settings > Connections > SIM card management > Add an eSIM |
When to install the eSIM before the trip?
Install your eSIM at home, on your Wi-Fi, before your departure. Here's why:
The plan does not start upon installation. Most Arivia eSIMs only start data usage upon your first connection to the local network at your destination. Installing the eSIM a week before your trip does not reduce your plan.
You can test everything calmly. If something doesn't work, you have time to contact Arivia's customer support from home, without pressure.
Upon landing, you are immediately connected. Disable airplane mode and your phone will automatically connect to the local network.
Common problems and solutions
Problem: The "Add an eSIM" option does not appear
Possible cause: The device is not eSIM compatible, or the software version is too old.
Solution: Update Android to the latest available version. If the option still does not appear after the update, your model is probably not compatible.
Problem: Error while scanning QR code
Possible cause: QR code already used, blurry image, incorrect distance.
Solution: Make sure the QR code has not already been scanned on another device. Maintain a stable distance (15-20 cm) between the phone and the code. Use good lighting.
Problem: eSIM is installed but no connection upon arrival
Possible causes and solutions:
- Roaming disabled on the eSIM → Activate it
- eSIM is not set as the data source → Change in settings
- Network selection in manual mode → Switch to automatic selection
- Airplane mode still active → Disable it
Always restart the device after installation and upon arrival in the new country.
Problem: eSIM frequently disconnects
Possible cause: Priority conflict between the two SIM lines.
Solution: In the SIM card manager, ensure that the eSIM is set as the sole and exclusive data source. Disable mobile data on the physical SIM.
Frequently Asked Questions about Android eSIM
Can we have multiple eSIMs on an Android phone? Yes, on recent models (Samsung Galaxy S23/S24, Pixel 8/9). You can store multiple eSIM profiles, but only one or two can be active simultaneously.
Does eSIM work if my Android is unlocked? Yes. An unlocked Android device accepts eSIMs from any provider. A device locked to an operator may block external eSIMs.
Does the physical SIM remain active with the eSIM? Yes. This is the principle of dual SIM. Both lines work in parallel: physical SIM for calls and texts, eSIM for data.
What if my phone doesn't recognize the QR code? Check the brightness of the screen displaying the QR code, the camera's focus, and make sure you are using the correct section of the settings. If the problem persists, request a textual activation code from Arivia.
Does an eSIM survive a factory reset? No. A factory reset deletes all eSIM profiles. Keep your original QR code in a safe place, or contact Arivia for a new profile.
Can an eSIM be transferred from one Android to another? The procedure depends on the provider. Some allow transfer via new activation. Contact Arivia if you change devices.
Conclusion: installing an eSIM on Android is within everyone's reach
No matter your brand — Samsung, Pixel, OnePlus, or other — installing an eSIM takes less than ten minutes and requires no special technical skills. The principle is universal: settings > add eSIM > scan QR code > configure dual SIM.
The only difference from iOS is that menu labels vary slightly by brand. With this guide, you have the exact path for your device.
Install your Arivia eSIM tonight at home, and on the day of departure, you'll be connected as soon as you land — no roaming charges, no searching for a SIM kiosk, no waiting.
Choose your Arivia eSIM plan for your destination and install it on your Android in minutes.