
How to Install an eSIM on iPhone? Step-by-Step Guide (2026)
How to install an eSIM on iPhone? Follow our comprehensive step-by-step guide for all compatible models, including 3 installation methods, dual SIM setup, and troubleshooting.
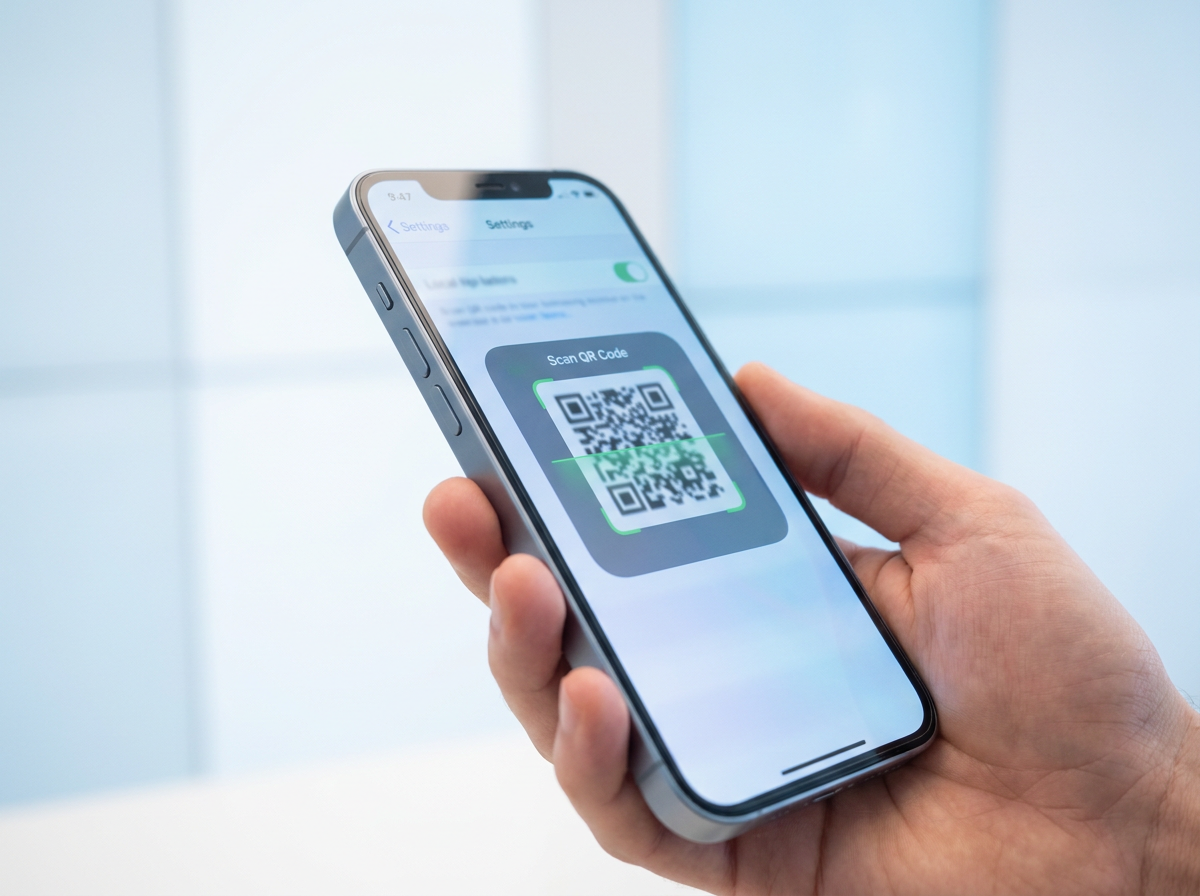
Just bought an eSIM for your next trip and wondering how to install it on your iPhone? Good news: installation takes less than ten minutes, and you don't need to be a tech expert to do it successfully. If you know how to download an app, you can install an eSIM.
All you need is an internet connection (your home Wi-Fi works perfectly) and the QR code you received after your purchase from Arivia.
In this comprehensive guide, we'll walk you through every step—which iPhones are compatible, the three installation methods, how to properly set up dual SIM, and what to do if something doesn't work as expected.
Which iPhones are compatible with eSIM?
Before you begin, check if your iPhone model supports eSIM. Apple introduced eSIM on iPhone starting in 2018.
eSIM Compatible iPhones
| Model | Year | Notes |
|---|---|---|
| iPhone XS / XS Max / XR | 2018 | First models with eSIM |
| iPhone 11 / 11 Pro / 11 Pro Max | 2019 | Dual SIM (1 nano-SIM + 1 eSIM) |
| iPhone SE 2nd generation | 2020 | eSIM compatible |
| iPhone 12 / 12 mini / 12 Pro / 12 Pro Max | 2020 | eSIM compatible |
| iPhone 13 / 13 mini / 13 Pro / 13 Pro Max | 2021 | Storage for up to 8 eSIM profiles |
| iPhone SE 3rd generation | 2022 | eSIM compatible |
| iPhone 14 / 14 Plus / 14 Pro / 14 Pro Max | 2022 | eSIM-only in the USA, dual SIM in Europe |
| iPhone 15 / 15 Plus / 15 Pro / 15 Pro Max | 2023 | Dual SIM in Europe |
| iPhone 16 / 16 Plus / 16 Pro / 16 Pro Max | 2024 | Dual SIM in Europe, multiple profiles |
Incompatible iPhones
- iPhone X and earlier models (2017 and older)
- iPhone 8 and iPhone 8 Plus
- iPhone SE 1st generation (2016)
How to quickly check?
Go to Settings > General > About. Scroll down and look for “EID”. If you see an EID number, your iPhone is eSIM compatible. If this line does not appear, your model does not support eSIM.
What you need before you start
- A compatible iPhone (see list above)
- An active internet connection — home Wi-Fi or mobile data from your local SIM
- The Arivia QR code — received by email after your purchase. You can display it on another screen (computer or tablet) to scan it, or print it.
- Up-to-date iOS — install the latest available iOS version before proceeding. iOS 17 and later versions offer the best eSIM management.
Important: Only scan the QR code once. Most eSIM QR codes are for single use—once successfully scanned, they cannot be used again to reinstall the profile on another device.
Method 1: Installation via QR code (recommended)
This is the most common and simplest method. Here are the detailed steps.
Step 1: Open Settings
On your iPhone, open the Settings app (the gray icon with gears).
Step 2: Access Cellular Data
Scroll down and tap on "Cellular Data" (or "Mobile Data" depending on your iOS version).
Step 3: Add a Cellular Plan
Tap on "Add Cellular Plan" or "Set up Cellular Service". On some versions, you might directly see "Add eSIM".
Step 4: Scan the QR code
Tap "Scan QR code". Your camera will open. Point it at the QR code you received by email—displayed on your computer screen or printed.
Your iPhone will automatically recognize the profile information. Tap "Continue".
Step 5: Confirm installation
Tap "Add Cellular Plan" to confirm. The iPhone will download the eSIM profile—this takes a few seconds.
Step 6: Name your eSIM
Your iPhone will prompt you to name the new line. Give it a recognizable name, such as "Arivia — USA", "Arivia — Dubai", or simply "Travel". This name will help you find it in your settings.
Step 7: Choose your default data line
Once the installation is complete, your iPhone will ask which line to use for mobile data. Select your Arivia eSIM as the primary data line.
Method 2: Manual Activation (activation code)
Some eSIM plans provide a text activation code rather than a QR code. This method is useful if you don't have access to a second screen to scan the QR code.
Steps
- Settings > Cellular Data > Add Cellular Plan
- Tap "Enter Details Manually"
- Enter the information provided by Arivia:
- SM-DP+ Address (server address)
- Activation Code
- Confirmation Code (if requested)
- Tap "Next" and confirm installation
Method 3: eSIM Transfer from another iPhone (eSIM Transfer)
On iPhone 14 and newer, Apple allows direct eSIM transfer from an old iPhone to a new one, via Bluetooth or a guided process during setup. This method is useful if you're upgrading your iPhone and want to keep your existing active eSIM.
Note: This method does not apply to single-use travel eSIMs—it's for permanent carrier subscriptions.
Dual SIM configuration after installation
Once the eSIM is installed, you need to configure dual SIM correctly for everything to work perfectly.
1. Set default data line
Settings > Cellular Data > Default Voice Line > Select your Arivia eSIM
2. Disable data roaming on your local SIM
Settings > Cellular Data > [Name of your local SIM] > Data Roaming > Disable
This prevents your physical local SIM from using mobile data roaming internationally—avoiding unexpected charges.
3. Enable data roaming on your eSIM
Settings > Cellular Data > [Name of your Arivia eSIM] > Data Roaming > Enable
Your eSIM will connect to a local network in your destination country—technically, this requires roaming to be enabled on that line.
4. Configure calls and SMS
For calls and SMS, leave your physical local SIM as the primary line. This way:
- Your contacts still reach you on your local number
- The eSIM solely manages mobile data
- You won't experience any interruptions in your usual communications
When to activate the eSIM before travel?
Contrary to what some assume, installing the eSIM before departure does not consume your data plan. Most Arivia eSIMs only start counting data when you connect to the local network at your destination for the first time.
Recommendation: Install the eSIM at home, using your Wi-Fi, a few days before departure. This gives you time to verify that everything is in order, correct any potential errors, and travel with peace of mind.
Verification after installation
To confirm that your eSIM is correctly installed and ready for use:
- Go to Settings > Cellular Data
- Check that your Arivia eSIM appears in the list of plans
- Ensure it is set as the default data source
- A green dot or "Active" should appear next to the eSIM
On the home screen or in the Control Center, you will see two distinct signal icons when both lines (physical SIM and eSIM) are active.
What to do if the eSIM doesn't work upon arrival?
You've installed your eSIM, you land at your destination, you disable airplane mode—but no connection. Here are the checks to perform.
Check 1: Data roaming enabled on the eSIM
Settings > Cellular Data > your eSIM > Data Roaming > Enable if not already
Check 2: eSIM is set as the data source
Settings > Cellular Data > Default Data Line > Select your eSIM
Check 3: Automatic network selection
Settings > Cellular Data > your eSIM > Network Selection > Automatic. If your phone is on manual selection with an unknown network, switch to automatic.
Check 4: Restart your iPhone
A simple restart often resolves connection issues after activating a new eSIM profile.
Check 5: Cycle airplane mode
Activate airplane mode, wait 10 seconds, then disable it. Your iPhone will restart its network search.
Check 6: Contact Arivia
If none of these steps resolve the issue, contact Arivia customer support. Have the exact name of your eSIM profile and the destination country ready.
Frequently Asked Questions about eSIM on iPhone
How many eSIMs can an iPhone store? From iPhone 13 onwards: up to 8 eSIM profiles can be stored, but only 1 or 2 active simultaneously depending on the model. On older models (iPhone XS to 12): multiple profiles can be stored, but only one active at a time.
Can an eSIM be deleted after the trip? Yes. Settings > Cellular Data > your eSIM > Delete Cellular Plan. Caution: once deleted, the profile usually cannot be reinstalled with the same QR code.
Does eSIM work on a refurbished or unlocked iPhone? Yes, if the iPhone is unlocked. An iPhone locked to a specific carrier may block the installation of eSIMs from other providers. Check in Settings > General > About > Carrier Lock.
Can I use both eSIM and physical SIM at the same time? Yes, this is the principle of dual SIM. You can have both lines active simultaneously. In practice: local SIM for calls and SMS, eSIM for mobile data.
What happens if I change iPhones while traveling? The eSIM profile is linked to your old device. If you change iPhones, you will need to contact Arivia to obtain a new profile or a new QR code for the new device.
Does installing an eSIM erase my physical SIM? No. Your physical local SIM remains intact and active. The eSIM is added in parallel.
Do I need to be connected to Wi-Fi for the entire trip? No. Wi-Fi is only necessary for the profile installation. Once installed, the eSIM works via the local mobile network.
Conclusion: Installing an eSIM on iPhone is simple
Ten minutes, a Wi-Fi connection, and your Arivia QR code—that's all you need to stay connected abroad without roaming charges. Once correctly configured (eSIM as data source, roaming enabled on eSIM, roaming disabled on local SIM), your iPhone manages everything automatically.
No more searching for a SIM shop at the airport. No more surprises on your bill. Upon arrival, exit airplane mode and be online in seconds.
Purchase your Arivia eSIM plan for your destination and install it tonight, from your couch.